Congratulations on getting through the first 8 lessons on the beginner page. You must have your single columns and double columns down— if you don’t, stay in the beginner section until you do.
Hopefully, the leg ladders (Lesson #6) introduced you to the concept of tension, and you should return to that lesson as you pay attention to tensions throughout your journey as a rope top.
Right now, you are ready to go to any of the Intermediate Level events in Windy City Knots: Classes, Ropelabs, Shibari Study afternoons. You may go to the suspension sessions as an observer.
Shibari Styles Glossary
Before continuing, be sure to see the Shibari Styles Glossary for a broad glossary of of Shibari styles and concepts you will be exposed to next: Kinbaku, Yukimora, Hojo Jutsu, Newaza, dominance bondage/sex bondage, freestyling, suspension, aesthetic shibari, and predicament bondage.
Four Foundational Concepts
Next, want you to focus on four important big-picture topics within the next few months of your learning as an intermediate rope top. You can do this on your own, but it’s best to go to an intermediate class and ask for someone to give lessons on these things. We will rotate teaching all of these key topics throughout all intermediate material.
- The Safety Lesson: You must pay attention to nerve damage, cutting off circulation, and not tying around the joints. Review the safety page and also Shibari Study safety lesson (Free).
- Rope Handling: What is a stem?, The Stick (Holding the rope & keeping tensions strong), Wrapping, Dressing, Finger hooking (Catching with a finger and pulling instead of pushing), Throwing (avoiding hitting your bunny in the face with the running end), general managing the running end, Minimizing rope burn, Avoiding rainbows by folding, and Burning rope
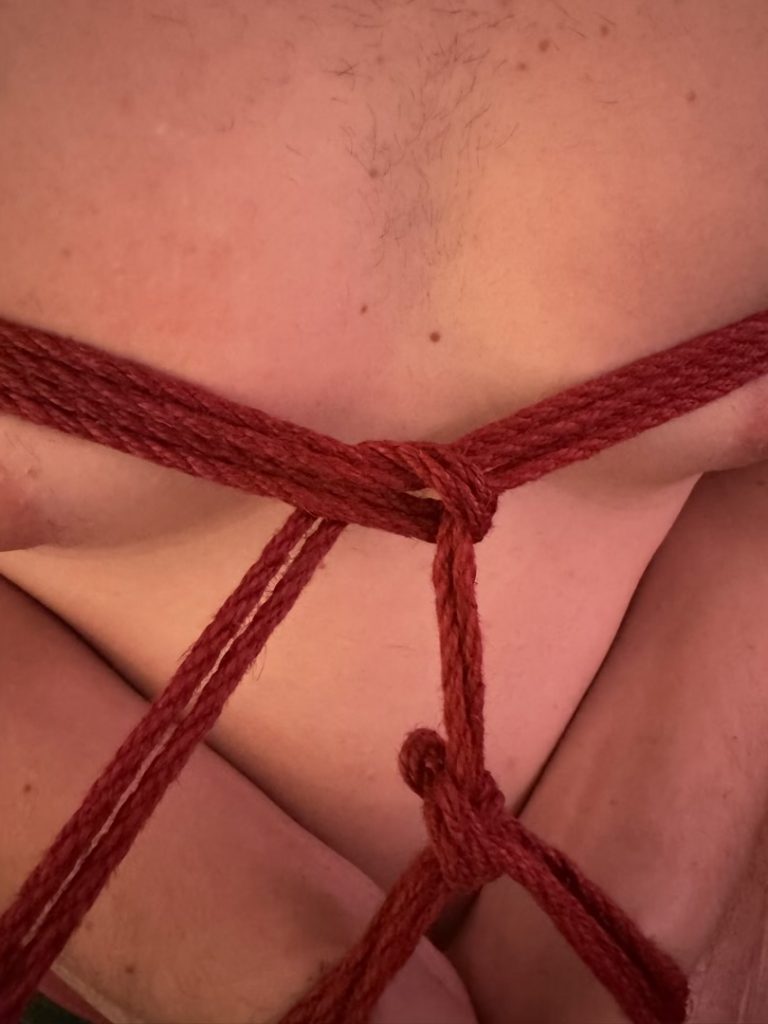
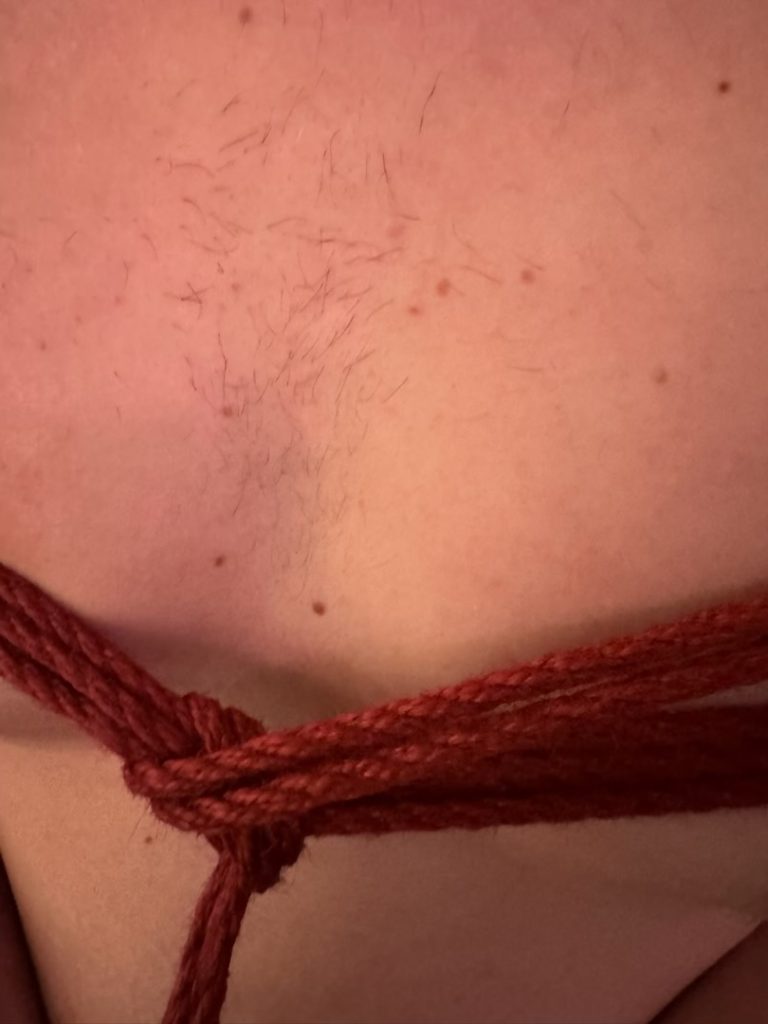
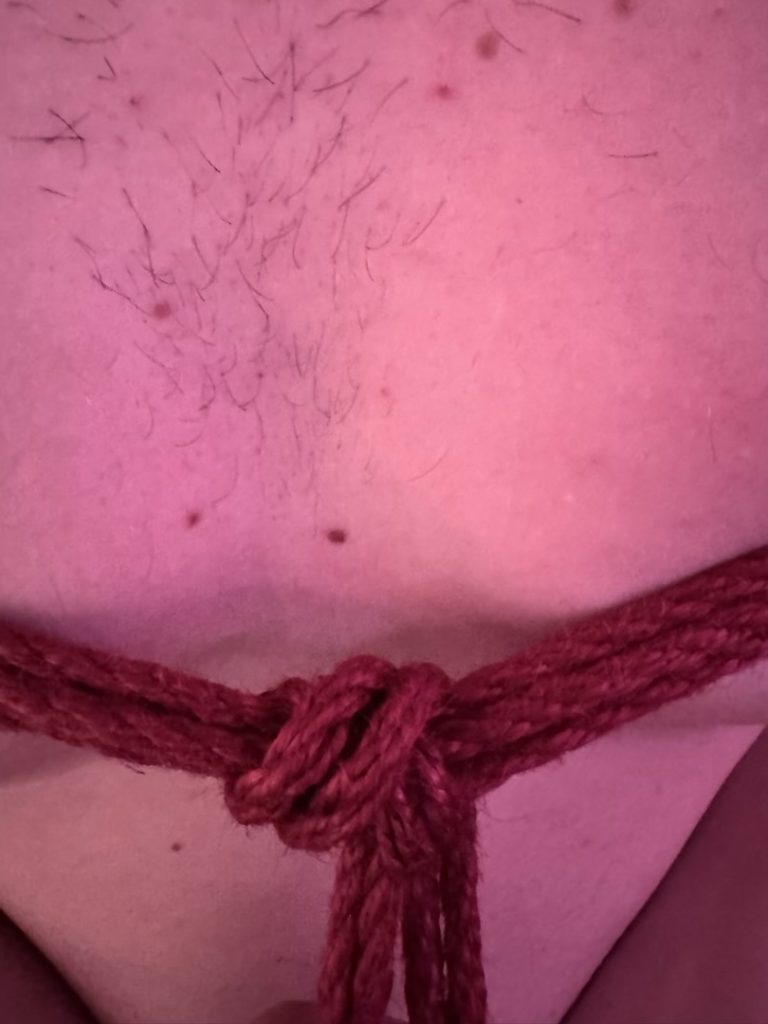
- Hitches & Frictions: You must learn reverse tension, the half-hitch, the Munter/nodome, the X-friction, the L-friction, the Clove Hitch, and the Half-moon hitch. You don’t need to learn them all at once, but make a list of which ones you’ve learned and check them off as you go.
- Unlearning: Unlearning is a vital cross-discipline concept: Early understanding is often incomplete or simplistic. Known as the sophomore effect, individuals in the early stages often feel overconfident about their abilities and knowledge. Shibari emphasizes communication and intimacy, and this is where we lean in to those skills as rope artists. We see unlearning as a form of growth requiring emotional intelligence, collaboration, and a lifelong learning mindset, and so we model those practices in our classwork. See Lief and Icky’s One Rope Rodeo, Rolling the Dice, Tifereth’s Speed Tying Drills
Rope Handling
What is a stem?
The Stick (Holding the rope & keeping tensions strong)
The stick– we always hold our rope taught to make it look like a stick. When we wrap around or fold around the body, we are always holding the stick strong to maintain tension.
Wrapping
Dressing
Finger hooking (Catching with a finger and pulling instead of pushing)
Finger hooking, also known as pulling instead of pushing, is when you reach, palm upwards, below the intersected rope where you want your hitch to be. Then pass the running end to your finger with your other hand. (Try it by finger hooking on your dominant hand and passing the running end from you non-dominant hand; then switch and hook from your non-dominant hand and pass with your dominant hand.)
Throwing (avoiding hitting your bunny in the face with the running end)
Throwing is the technique used to manage the running end to keep it on the side where you will be building next. You want to throw the rope into the area where you’ll need it next, but carefully not hit your bunny with it. Always avoid hitting your bunny in the face or eyes with the running end.
General managing the running end
Always know where the running end is. Don’t get it caught on your own legs. Use the throwing technique to move to and from side to side as you move around the bunny, anticipating where you will need it next.
Minimizing rope burn
Pull the ropes away from the skin. Pay particular attention if your bunny has hair. Use your hand, palm outward, to buffer the bunny’s skin from the rope as you pull it through.
Avoiding rainbows by folding
Going through the “biggest loop,” also known as the path of least resistance
Burning rope
Hitches & Frictions
A friction allows for easy adjustment, while a hitch attaches a rope to an object. (Both are correctly classified as “knots.”)
Reverse Tension, Half-Hitch, Munter/Nodome
| Reverse Tension | 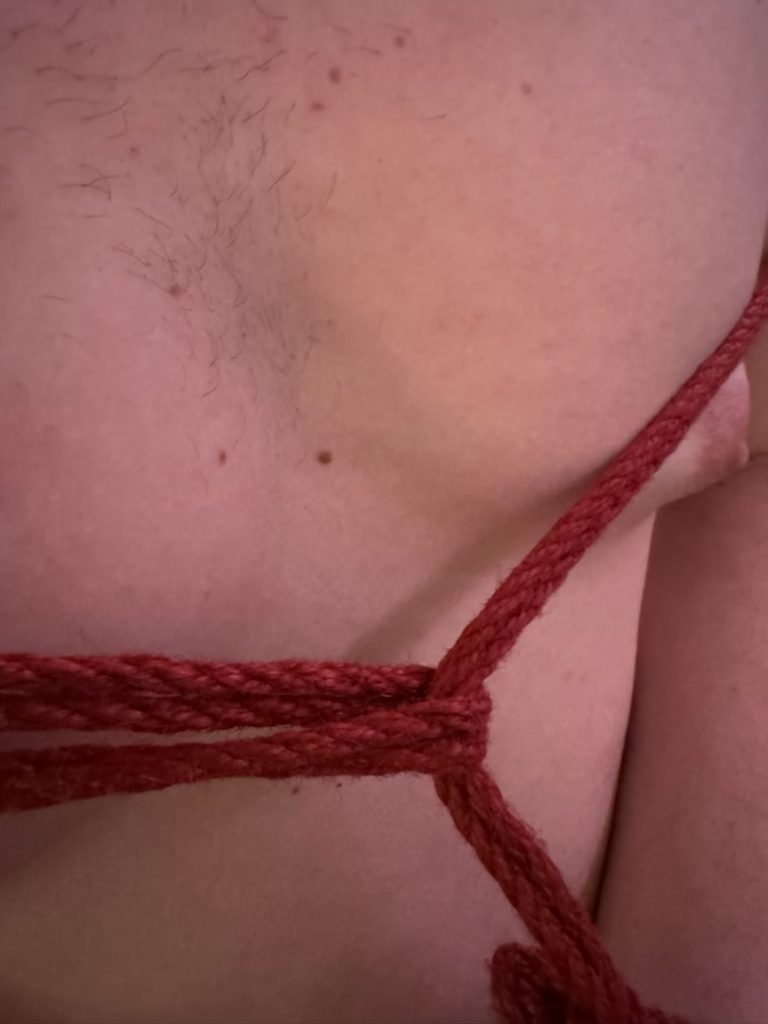 |
| The half-hitch |  |
| Munter/nodome |  |
The Half-hitch is not fully attached to the rope, and requires tension in the direction of the running end to hold. The Munter/nodome is a proper hitch that is used to attach one line to another line.
Munter/Nodome
• You will form a Munter hitch, also known as a nodome (pronounced phonetically “no – dough – may“), by having a running line that will cross over and be hitched into an intersected line. The intersected line has already been placed on the body, for example, in a previous step of the tie you are tying.
• Notice which direction the running line is traveling in. That is the direction that the running line will also end up traveling in when the hitch is done.
• Assuming the intersected line is horizontal,
• the running line goes over and under the intersected line, now running directly down
• Next run through the triangle formed by the intersected line and the running line (it will be a pizza-slice triangle). If you’re going up & to the right, the triangle will be on your left. If you’re going up & to the right, the triangle will be on your right.
• Run under and through to the opposite quadrant, in the same direction that the running end was going when you began.
X friction
“X in front; skis in back“
(in the back, the skis are vertical, like so:)
In the front, you go diagonal & diagonal, forming an X.
In this twice-around example we’re pulling the wraps together. First step is to pull up to form the stem going upwards and left
Next we will pull the top wraps together and finding tension on the stem
We go in the opposite direction ( right ) to form the X.
And finally we come back down to complete the hitch.
L-Friction
Two half-hitches(Clove hitch)
Cow hitch
Half-moon hitch
More Knots To Learn
| Coin Knot | |
| Double coin knot | |
| Fisherman’s knot | |
| Midshipman’s hitch | |
| Girth hitch |
Patterns & Concepts
Lattice pattern
Weaving, over-under / under-over
Symmetry
Nawaza – Starter Floor Ties
| Tie | Is good for learning | Videos |
| Gote (Chest Harness) A common and fundamental tie in Shibari, the Gote, involves tying the arms behind the back and securing the chest. It serves as the foundation for many other ties and is often used in both floor work and suspension. | • tension, reverse tension, anatomy | Nawado (YouTube) |
| Hishi Diamond Harness An asthetic and pleasing repeating pattern tied down the body, the Hishi Diamond can either be done over the arms on someone else (it makes for a cozy, encompassing experience), or as a self-tie under the arms. This is the one of the first body harnesses we learn in the intermediate section because it introduces Munters & half-hitches. | • tension, reverse tension, anatomy | Rory’s Brainworks (YouTube) |
| Hog Tie (Shrimp Tie) The classic hog tie involves two parts: An upper body (typically a TK), and a connection to bind the ankles, with the bunny face down and legs & arms back. This is an intense stress position and caution should be taken with bunnies new to this back-bend. | Double columns | |
| Ladder Tie (Arms Laced in Front) A simple arms-in-front upper body harness that’s good for beginners | Double columns, anatomy | |
| Bunny Tie The bunny tie is a quick, foundational upper body tie that involves putting wrists behind the neck with the elbows up, in the shape of bunny ears. It is an intense hold to sustain and can become overwhelming quickly, so be careful to do this only for a short time on new bunnies. | ||
| Simple Neck Hug The Simple Neck Hug puts the bent arms down but holds the wrists behind the neck, then loops around the torso to create a quick & compact experience. |
Nawaza – Intermediate Floor Work
| Tie | Is good for learning | Videos |
| Hishi Karada (“diamond rope dress”) An beautiful full body tie that becomes striking when you use different colors of rope. Highly aesthetic and makes for good photos. | Munters & half hitches | |
| Singju | • Upper body anatomy, reverse tension | |
| Thigh Gunslinger | Chelle Lisbeth (YouTube) | |
| Dog tie | Watts The Safeword (Youtube) | |
| Tobutsuru (hip harness) | birdofprey69 (Youtube) | |
| Bulldog harness | Watts The Safeword (YouTube) | |
| Dragonfly Sleeve | • Communication with bunnies about flexibility, holding tension in the body | |
| Strappados | ||
Compression Ties
| Fisherman’s harness A reasonably safe upper body tie that makes the bunny feel encompassed and enveloped. It can be a little challenging to get the tension right, so it is recommended that you work on your tensions first with other ties before attempting this intermediate tie. | Munters (6×4=24) | Note Method 1 starts at the waistline and wraps upwards; Method 2 starts with a SC on the wrists and wraps downwards. |
Fotomomos
| Futomomo | Haven Kink (YouTube) | |
| Futomomo (leg tie) | ||
| Spiral futomomo | Innovative Fiber Arts (YouTube) | |
| Diamond Futomomo | Shibari Study |
Takate Kote (Box Tie)
A specific and popular form of the Gote, the Takate Kote involves tying the arms in any box shape behind the back. Any time the arms are tied in the back in the shape of a box, it is called a “TK.” There are, however, many various TKs to learn, some more secure or aesthetic than others.
| The basic TK | ||
| Mt Fuji 3rd Rope | ||
| Gorgone’s 3rd rope | ||
Bedroom Bondage Floor Ties
| Thembo/Himbo/Bimbo Tie A sexy ‘thembo doll’ tie (or gender of your choosing) that puts your bunny in a restrictive side-arms position like a sex doll. This position involves an intense back-bend, so be sure to do it with experienced bunnies who can hold a back-bend. | Shibari Study | |
Predicament Ties
Harnesses
Note: Although the suspension is not covered here, we begin to build suspendible harnesses here in the end of the intermediate material. It’s important make sure your harnesses are tight and securely built before moving onto suspension.
Remember, suspension is only one of many options for advanced rigging.
| Triple-weave Hip Harness A very common hip harness that involves weaving 3 times on each hip. | RopeExtasy (Youtube) | |
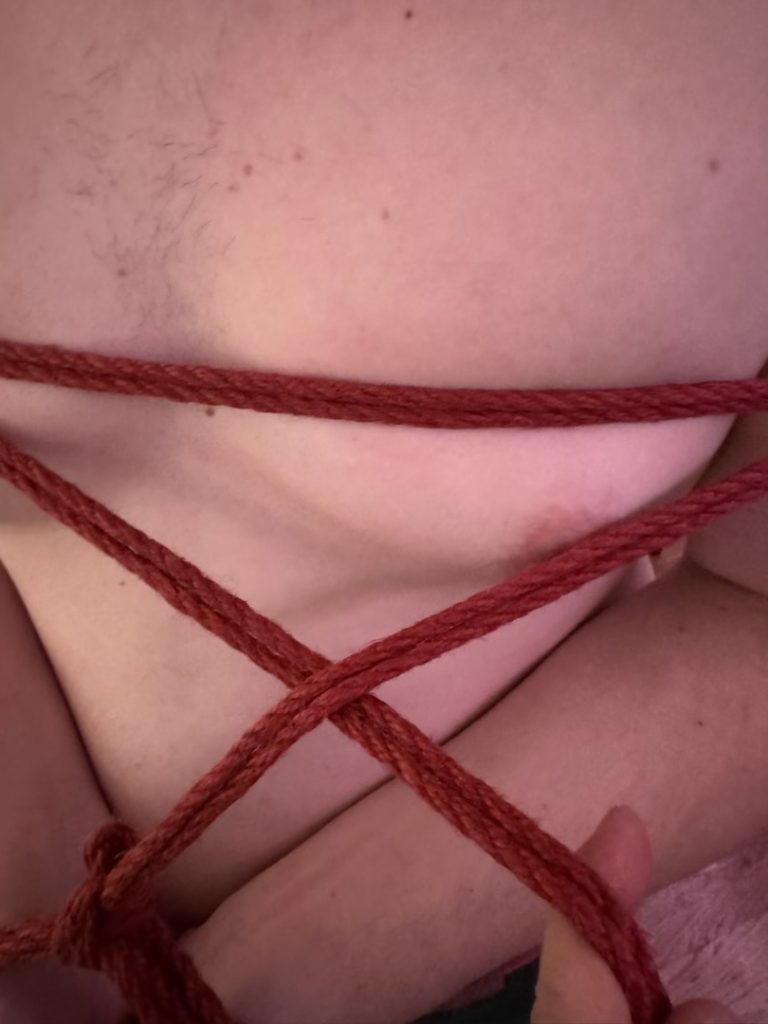
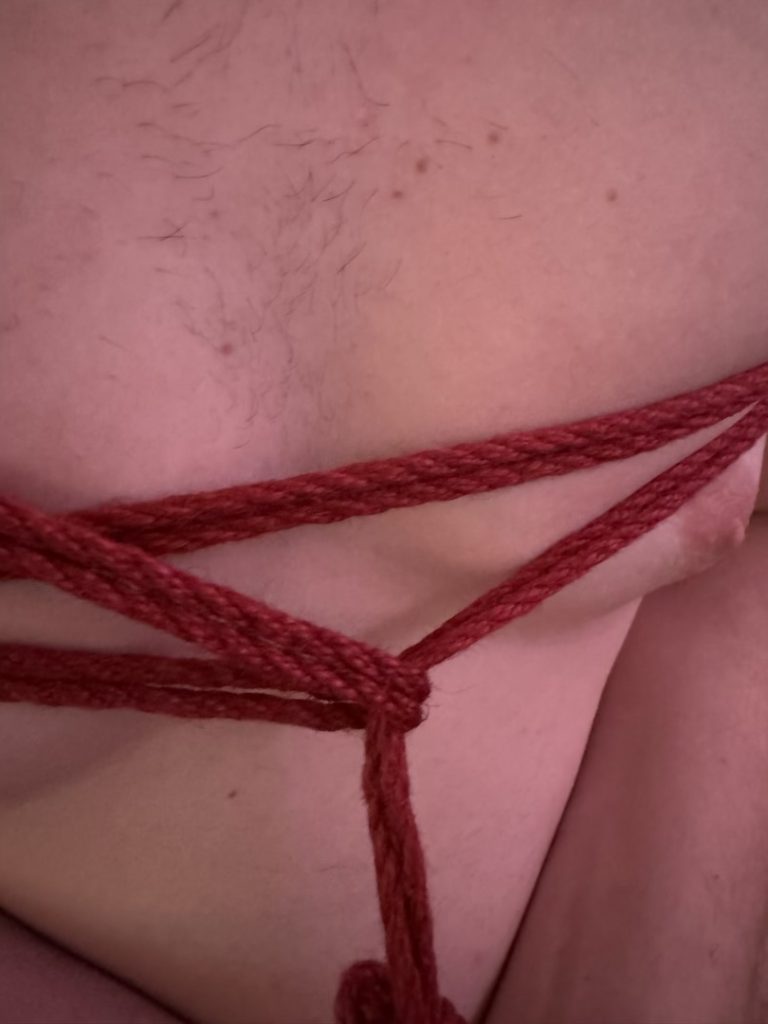
| Half-moon hip harness A quick & easy one-sided tie that involves ropes going very close to your groin, which may or may not work for you. | ||
| Butterfly harness A common upper-body tie used for suspension. | Shibari Study | |
| KissMeDeadlyDoll’s chest harness A very secure and comfortable arms-free chest harness suitable for suspension. | Shibari Study |